
Indoor photography has many advantages, among them the ability to be creative with things like lighting and backdrops. With the following tips, you will be well on your way to photos you never thought possible.
Film is the first thing to consider when taking indoor pictures. . For portraits and interior shots, ISO 400 speed film is the one of choice. For indoor sporting events, however, 800 speed film is much better. Artificial lights can cause colors to alter; therefore, a tungsten balanced film is the best choice. It is this type of film professionals use most often. The best thing to do is try several films until you find one that produces images to your taste, then stick with that one. Having a film you know you’ll like will leave you free to spend energy on making decisions about the changeable aspects of your photos.
Backdrops can be plain or elaborate and made from any number of items, from sheets to fake fur and plain walls to professional backdrops from a photography shop. A plain backdrop is often preferable to a print one. You want the focus of your picture to be on your subject, not your backdrop. Keep in mind that flash may bounce off your backdrop and reflect onto your subject. When choosing your backdrop, find a color that will enhance your subject if this happens. A white backdrop will provide an additional light source because of this bouncing effect.
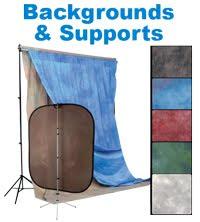
For a textured backdrop, try hanging fake fur or satin. A sheet of wood paneling also makes an interesting backdrop that won’t distract from your subject. Let your imagination guide you and experiment with many things. A backdrop that fully captures the mood you are trying to create is, by far, the best choice.
Lighting for indoor photography offers many choices. The best of these is natural light. Positioning your subject where light from a skylight or window falls is ideal. This produces the most natural coloring and the light is usually very soft. The only other light you may need with natural lighting is fill flash.
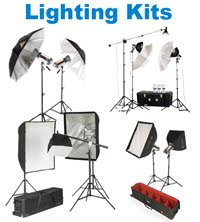
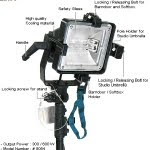
In the absence of natural light, professionals suggest what is known as three-point lighting. Position your major light source at a forty-five degree angle to your subject. Directly across from this light source, place some type of reflector, such as white cardboard, to bounce the light back toward your subject. Lastly, place a soft light behind your subject to prevent shadows. This is a lighting arrangement that works well with almost every subject.
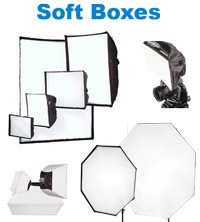
A change of lighting can change the entire mood of a photograph. If you are going for a gentler look, keep your lighting soft. This can be done by bouncing your flash off a wall, ceiling or other reflector. If the light is still too harsh for your liking, try taping a tissue over your flash unit to soften it even more. If dramatic is what you are aiming to achieve, bright light is needed. This will create more shadows, and therefore contrast, and give a more dramatic tone to your resulting photo.
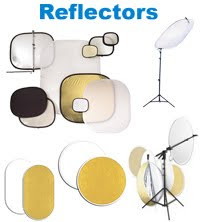
A word on reflectors is needed here. You can create your own inexpensive reflector. A piece of white poster board, a sheet or a white wall or ceiling will work fine. For a more portable reflector that will last a while, try covering a cookie sheet with silver or gold foil, or even one on each side. This will enable you to get two different effects without changing much else.
Lighting can be manipulated to create any mood you choose. Try using colored bulbs in your lamps, draping sheer scarves over lights or even using simple candlelight only. The possibilities are endless and will create hours of enjoyable photography for you.

this topic just gave me additional information on what i have learned in my avt class.
ReplyDeleteRegine g. pulvera